Brute force login attacks targeting WordPress sites are quite common, such as in April 2013 when more than 90,000 sites were targeted. There are a handful of good ways to protect yourself against these attacks:
- Choosing a strong administrator password
- Installing a plugin that guards against brute force logins, such All in One WP Security or BruteProtect
- Changing the default wp-admin url with a plugin such as HC Custom URL
However, I prefer to use a two-factor authentication method that requires a code from my phone to complete the login process. Google’s Authenticator has been gaining ground as a mobile app for providing secure codes. In fact, you may already have the Google Authenticator app on your phone, as a number of web services are now integrating with it, including cloud file store provider Dropbox, cloud hosting provider Digital Ocean, and name service provider Gandi.net.
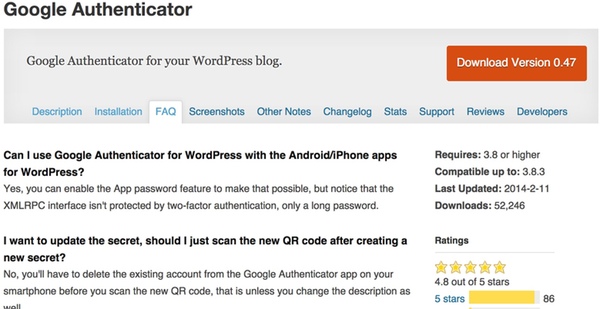
And, fortunately, there is a simple WordPress plugin by Henrik Schack that integrates with Google 2fa; it’s also called Google Authenticator. Installing and using this plugin is quite easy—and the security benefit is significant.

This tutorial will walk you through setting up the Google Authenticator WordPress plugin for your own sites.
Installing the Google Authenticator Plugin
From your WordPress Dashboard, go to install a new plugin and search for Google Authenticator, and click Install Now:

Then, click Activate Plugin:

From the dashboard, click Users > Your Profile and scroll down to the Google Authenticator settings:

Click on the checkbox for Active. Modify the description so that you will recognize the site on your Google Authenticator mobile app and show the QR code.
Note that the plugin works for multiple users—and each user has the choice of enabling it for themselves.
Adding Your Site to the Mobile Authenticator App
From your mobile Google Authenticator App, click the upper right pen (for editing). Click the plus sign at the bottom for adding a site. Choose to scan the barcode and point your camera at the QR code. The process is quite fast.

Log out of your WordPress site and you should see the additional field for Google Authenticator on your login screen!

To log in, enter your username and password as usual, but visit your Google Authenticator mobile app to get the additional code for logging in. The codes are time-critical and expire every few minutes.

Congratulations, you’ve successfully implemented two-factor authentication on your WordPress site.
Troubleshooting
In writing this tutorial, I was accidentally logged out of my site before I had registered my site with the mobile app. I couldn’t log back in—but luckily, there is a simple solution listed on the plugin support page.
I just had to log in via SSH to my server and change the name of the plugin folder temporarily. Then, I logged back into WordPress, reset the plugin folder name, added my site on my mobile app, and I was good to go.
Another way to do this is through the database using a tool such as PHPMyAdminand these queries. If you’re not self-hosting, you may need to request help from your hosting company.
In Closing
I hope you’ve found this useful; now go secure your WordPress sites.
Please post any comments, corrections or additional ideas below. You can browse my other Tuts+ tutorials on my author page or follow me on Twitter @reifman.
from : http://code.tutsplus.com/tutorials/using-google-two-factor-authentication-with-wordpress–cms-22263
[quote font=»verdana» font_size=»14″ font_style=»italic» color=»#474747″ bgcolor=»#F5F5F5″ bcolor=»#dd9933″ arrow=»yes» align=»centre»]This Demo Content Brought to you by Momizat Team [/quote]


